The Ceramic Shop
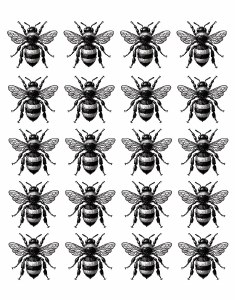
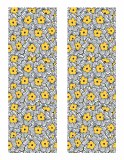
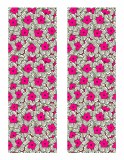
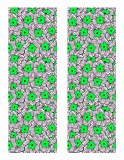
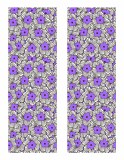
Black Bumble Bees 01 Decal
$8.25
Item #: CSDBB01BL
Introducing The Ceramic Shop's Overglaze Decals!
Black Bumble Bees 01
Sheet Size: 4.25"x5.5"
How do I apply my decals to my glazed surface?
Prepare for application – we recommend setting up a space with the following items:
1. Your decals, cut up and ready for application
2. A bowl of warm/room-temperature water
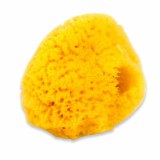
3. A rubber rib or sponge, or something firm and flexible that can act as a squeegee – here at The Ceramic Shop, we really like using this red rib by MudTools.
4. A towel/sponge to clean up water drips from your ceramic piece.
Once you have all of those elements assembled, you are ready to apply your decal! First clean and dry your surface so that there is no dust or any particles on your surface. Soak each decal in water one at a time until the decal starts to slide away from the backing; this takes about 30 seconds. Very carefully, without folding your decal, place the decal on the clean, dry surface of your ceramic piece. You will notice that you will be able to gently slide it around and position it.
Once your decal has been placed where you wish it, take your rubber rib and, working from the center outward, squeeze out the water and air that is trapped between the decal and the ceramic piece. Soak up the water as you go.
That’s it – that’s all there is to applying your decal! At this point, we suggest waiting 24 hours for your piece to dry completely before you proceed with the firing. Firing wet decals can contribute to pinholing, or to water marks being visible on your finished work, so allowing your pieces the time to thoroughly dry can make a big difference.
How do I fire my decals?
Here is our easy 2 step kiln firing schedule:
1. 350F per hour up to 788F - no soak/hold.
2. 400F per hour up to 1616F - 30 minute soak/hold.
*If you are firing in a manual kiln we suggest firing on the lowest heat rise to cone 018-016.*
